

DIY H-Leg Outdoor Dining Table
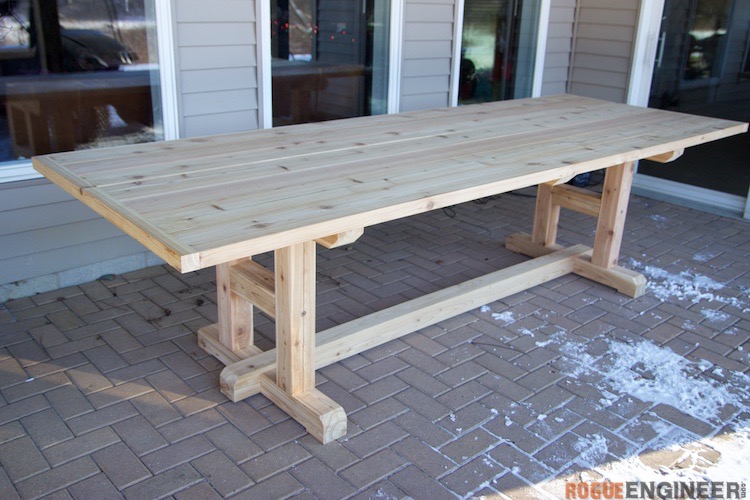
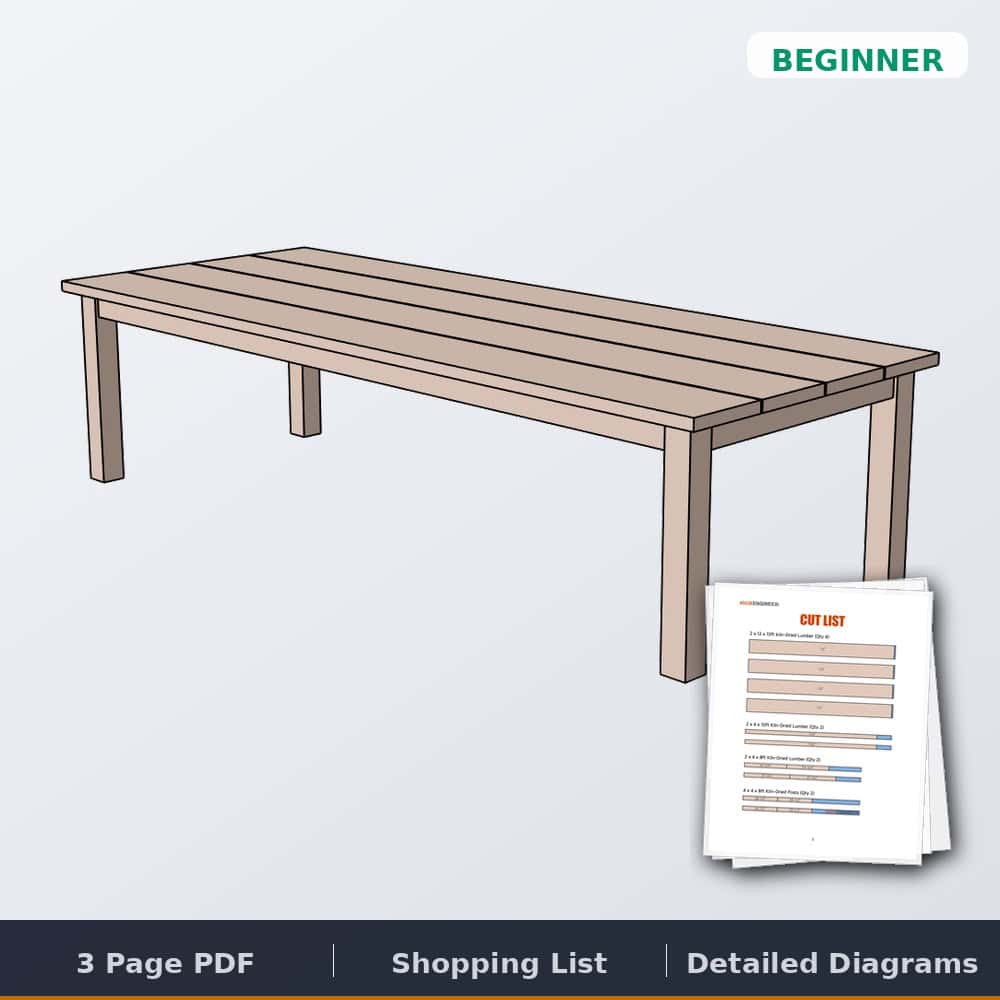
Quick answer: This cedar H-leg outdoor dining table is our take on Pottery Barn’s $2,200 Stafford dining table — 110″ long, seats a crowd, built from 4×4 and 2×6 cedar with glue, timber screws, and HD pocket holes. The top boards are gapped for drainage; skip the gaps (or use the J-pedestal top) and it works indoors too. Matching benches here. Build video below; the printable plans are $10. Designed, built, and documented by Jamison Rantz.
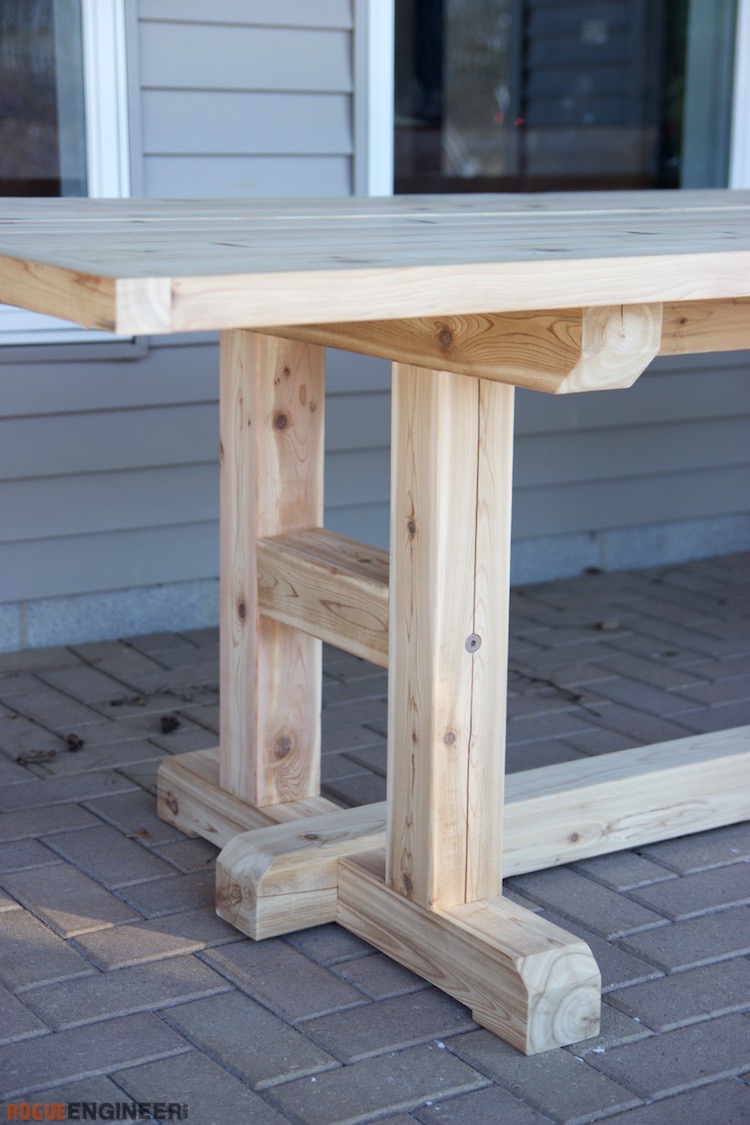
The story: we were planning Thanksgiving dinner, realized we had a lot of people coming and nowhere to put them, and came up with the brilliant idea of hosting dinner in the workshop — and building two huge dining tables to boot. Jamie shot over to Pottery Barn and picked out a couple of tables for inspiration; this one is based on the $2,200 Stafford. We built ours as an outdoor table for spring — cedar to withstand the elements, top boards gapped for drainage. Its workshop sibling is the J-pedestal table, and the matching H-leg benches came later (two per side, so nobody has to climb over anyone).
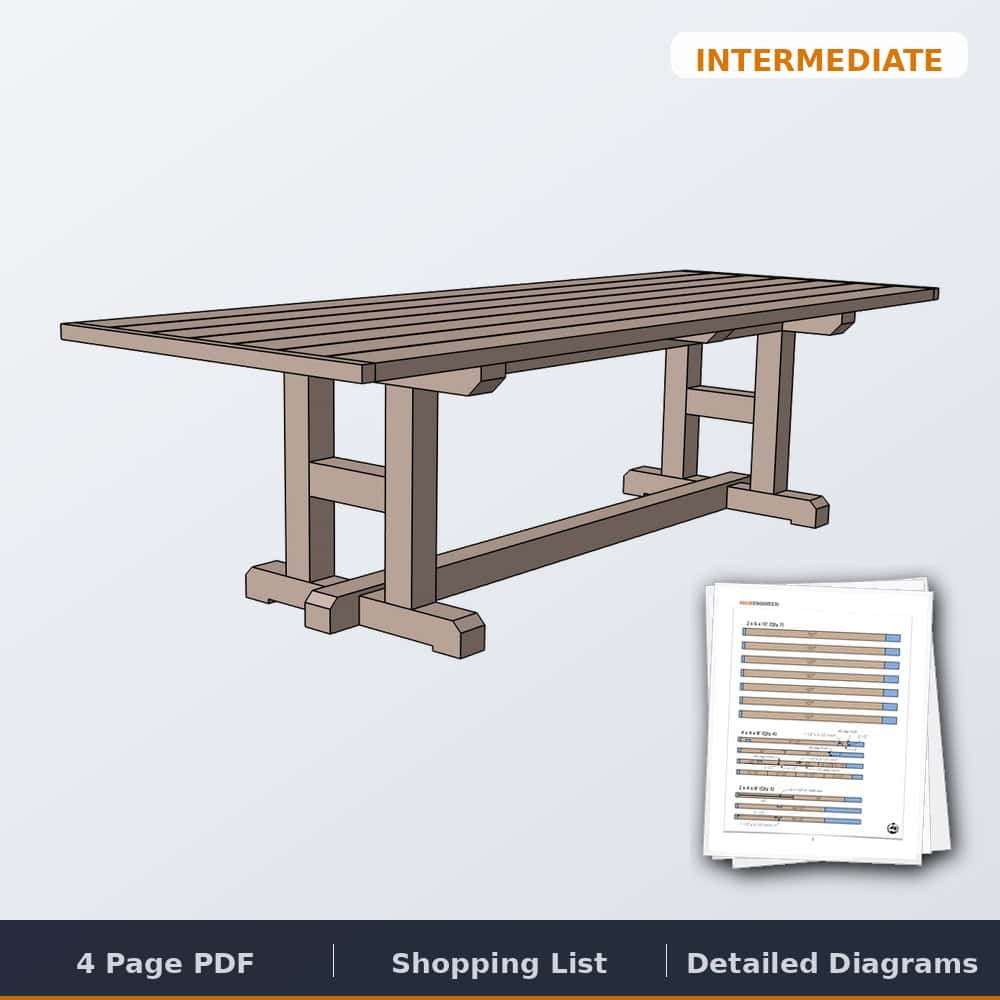
H-Leg Dining Table Plans
The complete printable PDF — full cut list, dimensioned diagrams, and all four assembly steps for the $2,200 look.
Tools & materials
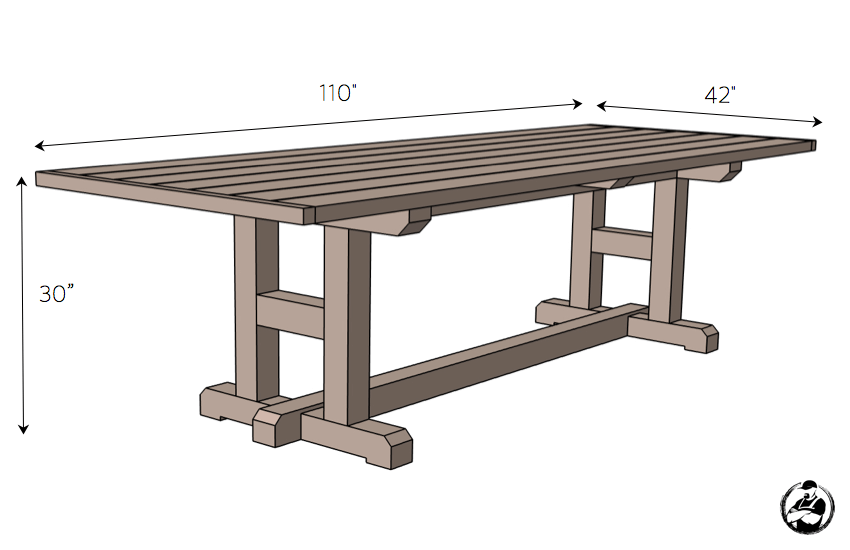
Dimensions
Cut list

How to build the H-leg dining table
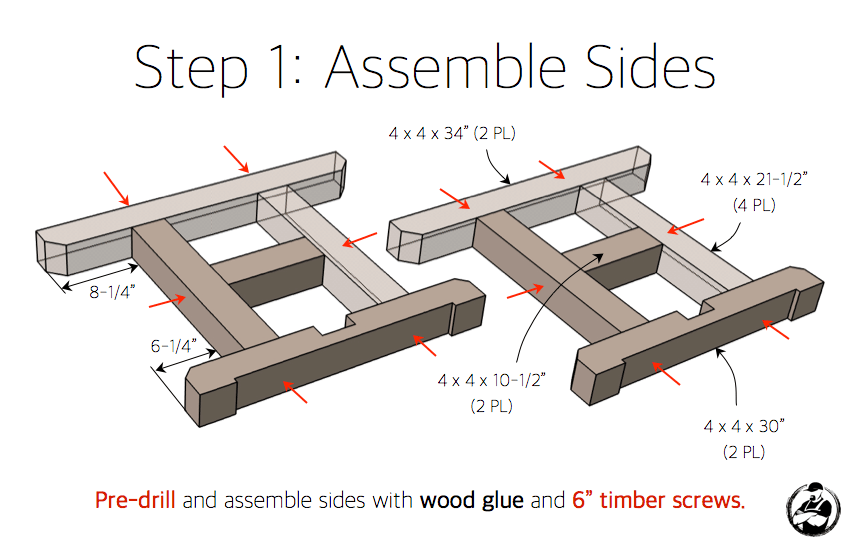
Step 1 — Assemble the H-leg sides
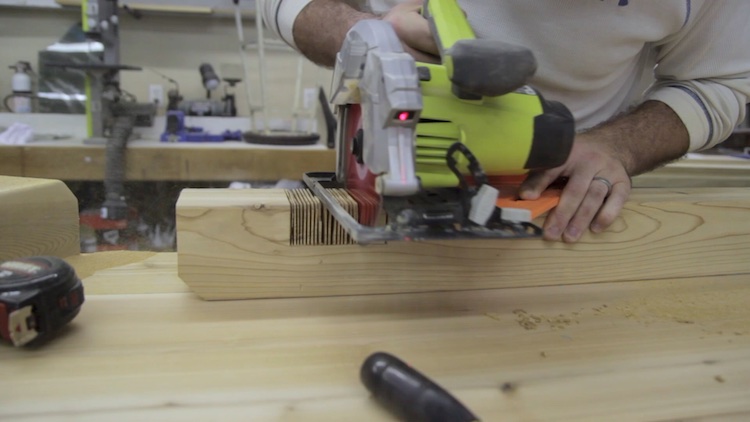
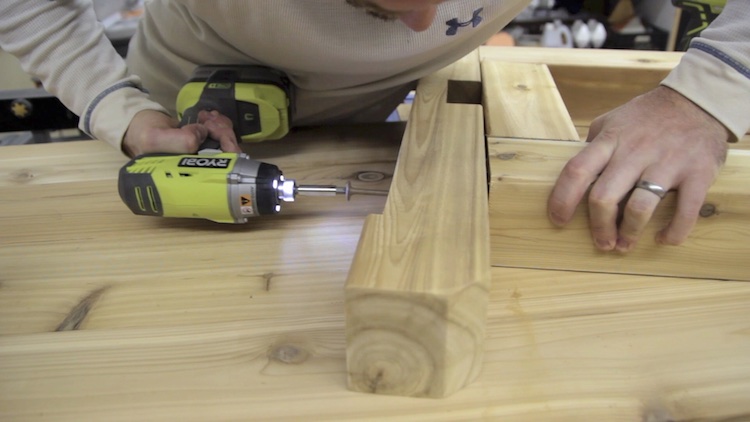
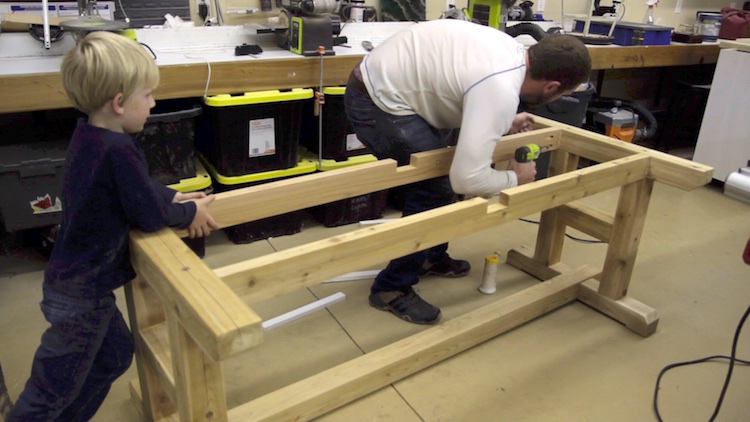
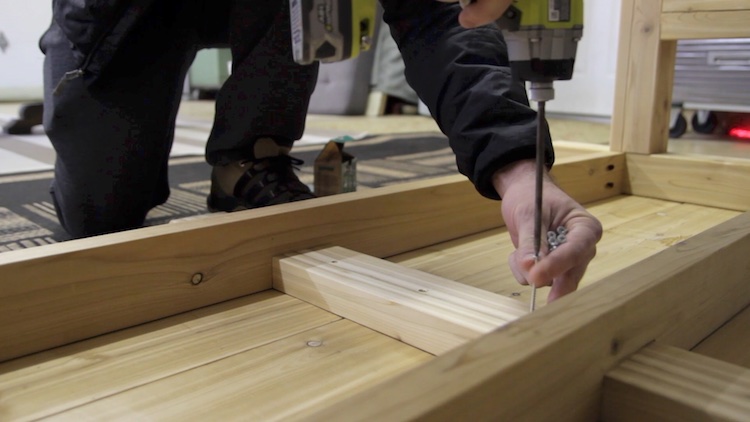
Each side is an H-frame of 4×4 cedar: 30″ legs, a 34″ top rail, 21½″ cross pieces, and 10½″ feet blocks. Pre-drill and assemble with wood glue and 6″ timber screws — the chamfered ends are worth the extra miter-saw minute.
Step 2 — Assemble the frame
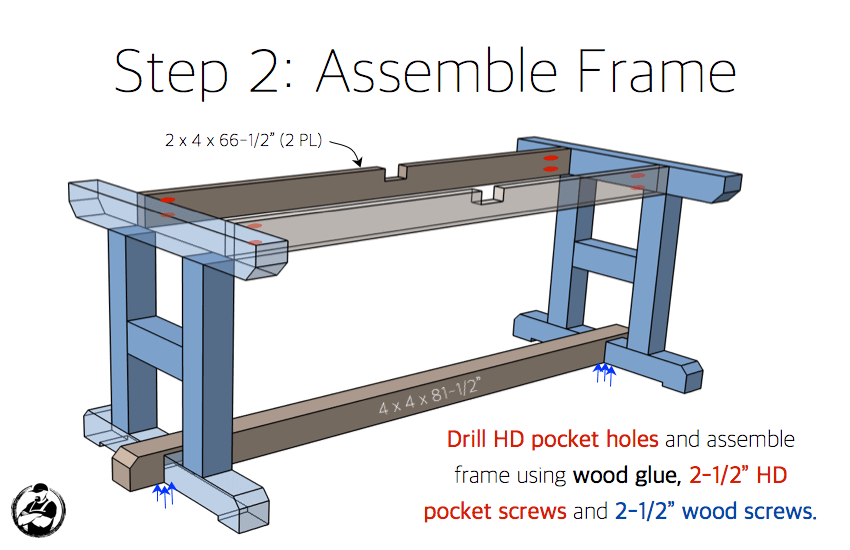
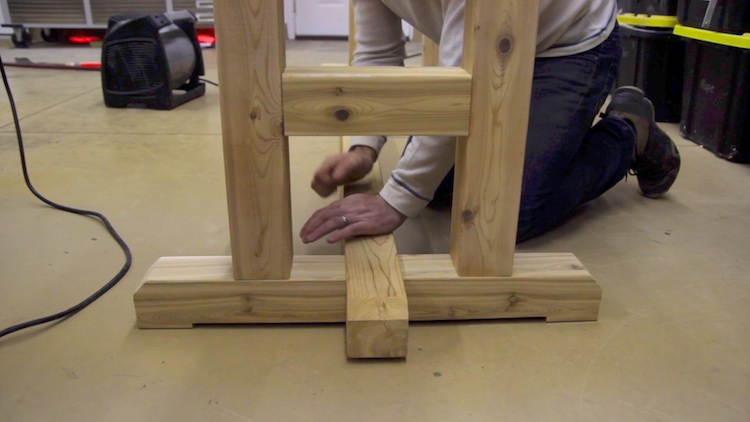
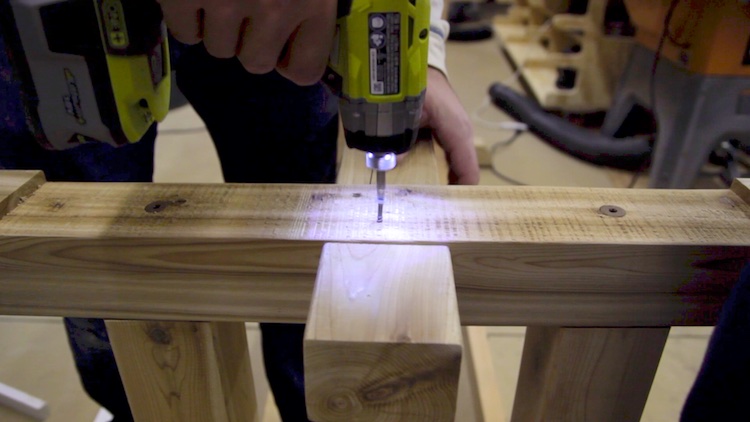
Two 2×4 × 66½″ upper stretchers (notched at center) and the 4×4 × 81½″ bottom stretcher tie the H-frames together. Drill HD pocket holes and assemble with glue, 2½″ HD pocket screws, and 2½″ wood screws.
Step 3 — Assemble the top
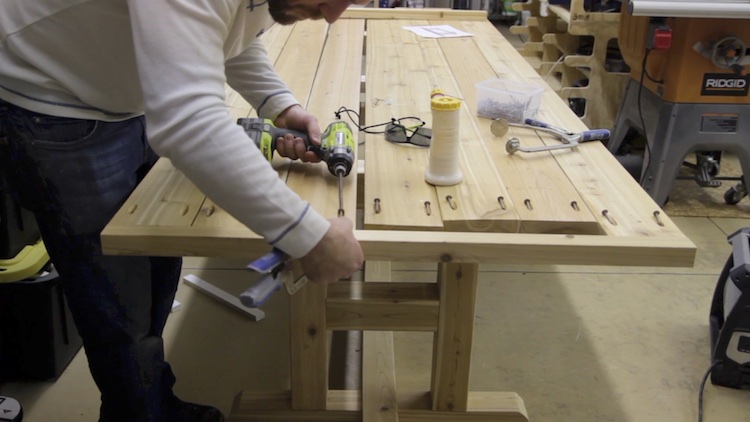
The top is seven 2×6s at 107″ with ¼″ drainage gaps, edged by two 42″ 2×4s ripped in half. Drill HD pocket holes and assemble with glue and 2½″ HD pocket screws. Building the indoor version? Skip the gaps and add one more board.

Step 4 — Attach the top
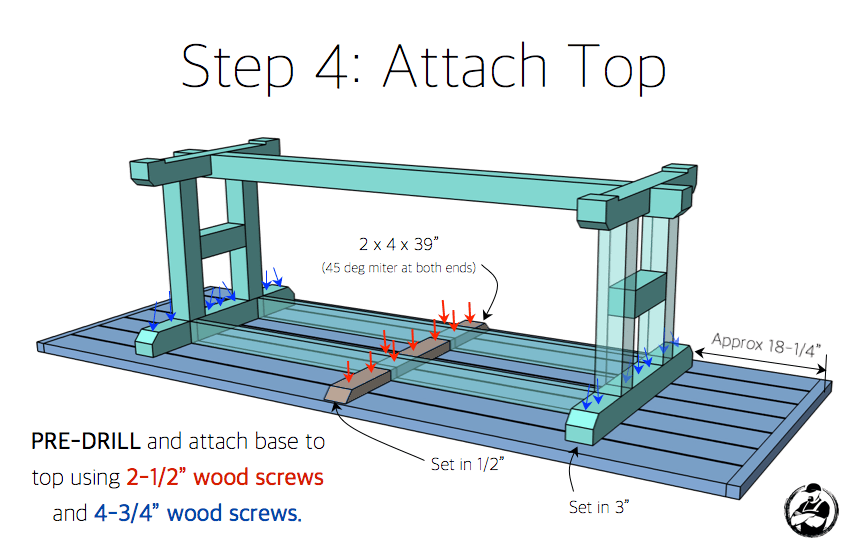
Center the base on the underside of the top (about 18¼″ overhang at each end), add the two 39″ mitered 2×4 cleats, and fasten with 2½″ screws through the cleats and 4¾″ screws through the top rails.
H-Leg Dining Table Plans
The complete printable PDF — full cut list, dimensioned diagrams, and all four assembly steps for the $2,200 look.
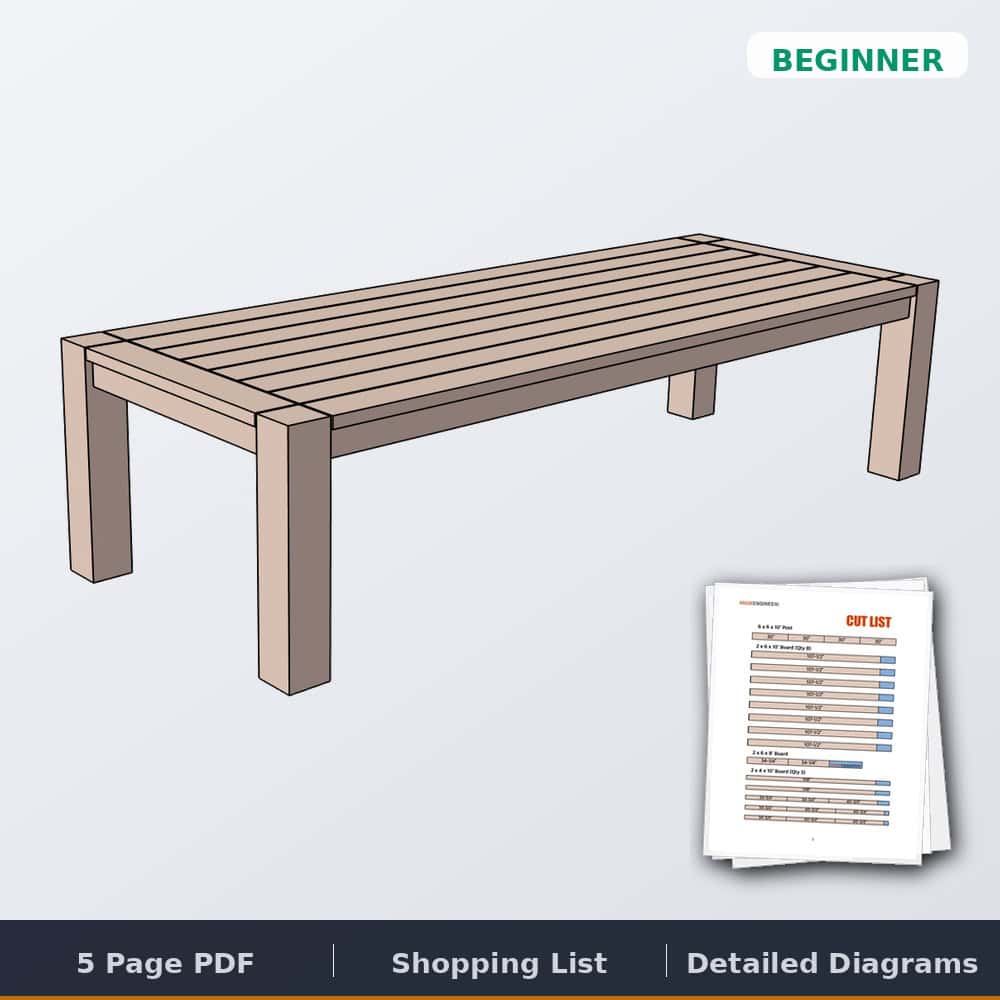
Need a different table? We compared all five of our outdoor tables — cost, time, and use — on the outdoor table plans page.
Questions? Comments?
As always, if you have any questions don’t hesitate to comment below — and don’t forget to post pictures of your finished tables in the comments! Cheers!
I like this one, too! Thick & “chunky.”
Very interested to see if the pocket hole joinery holds up outdoors as the wood expands and contracts. Everything I’m seeing from other builders is floating tenons (don’t know if I have the jargon right), not screws.
~Drew
I can’t wait to try this. I will put my faith in the rocket scientist 🙂
Thanks Drew! And I’m not worried about the pocket hole joinery. I’ve built many pieces like this with no issues.
Hi Jamison – just curious how this has held up after a year. Thanks!
Here’s to 2018!
~Drew
Still looks like the day I made it minus a little natural weathering of the cedar.
Great! Thanks for the quick reply!
Thanks for these designs! I’ve been looking for a sturdy design for table legs so I can build a table out of my IPE wood (“Ironwood”) deck scraps, they are very heavy.
Any insight in how to build the bench pictured with the Staford table? I have a 48″ long piece that would be perfect for a bench to this table..In the picture it makes the legs on the table look like they 6×6 and the bench 4×4, but the description says the table legs are 4×4, so maybe the bench legs are a smaller size?
I’m still debating between PT lumber, Cedar lumber, of IPE/Mahogany.. Probably knotty cedar.
The tabletop will look something like this when cut and put together.. about 80″ from end to end and will bring it down to about 42″ wide (48″ pictured)..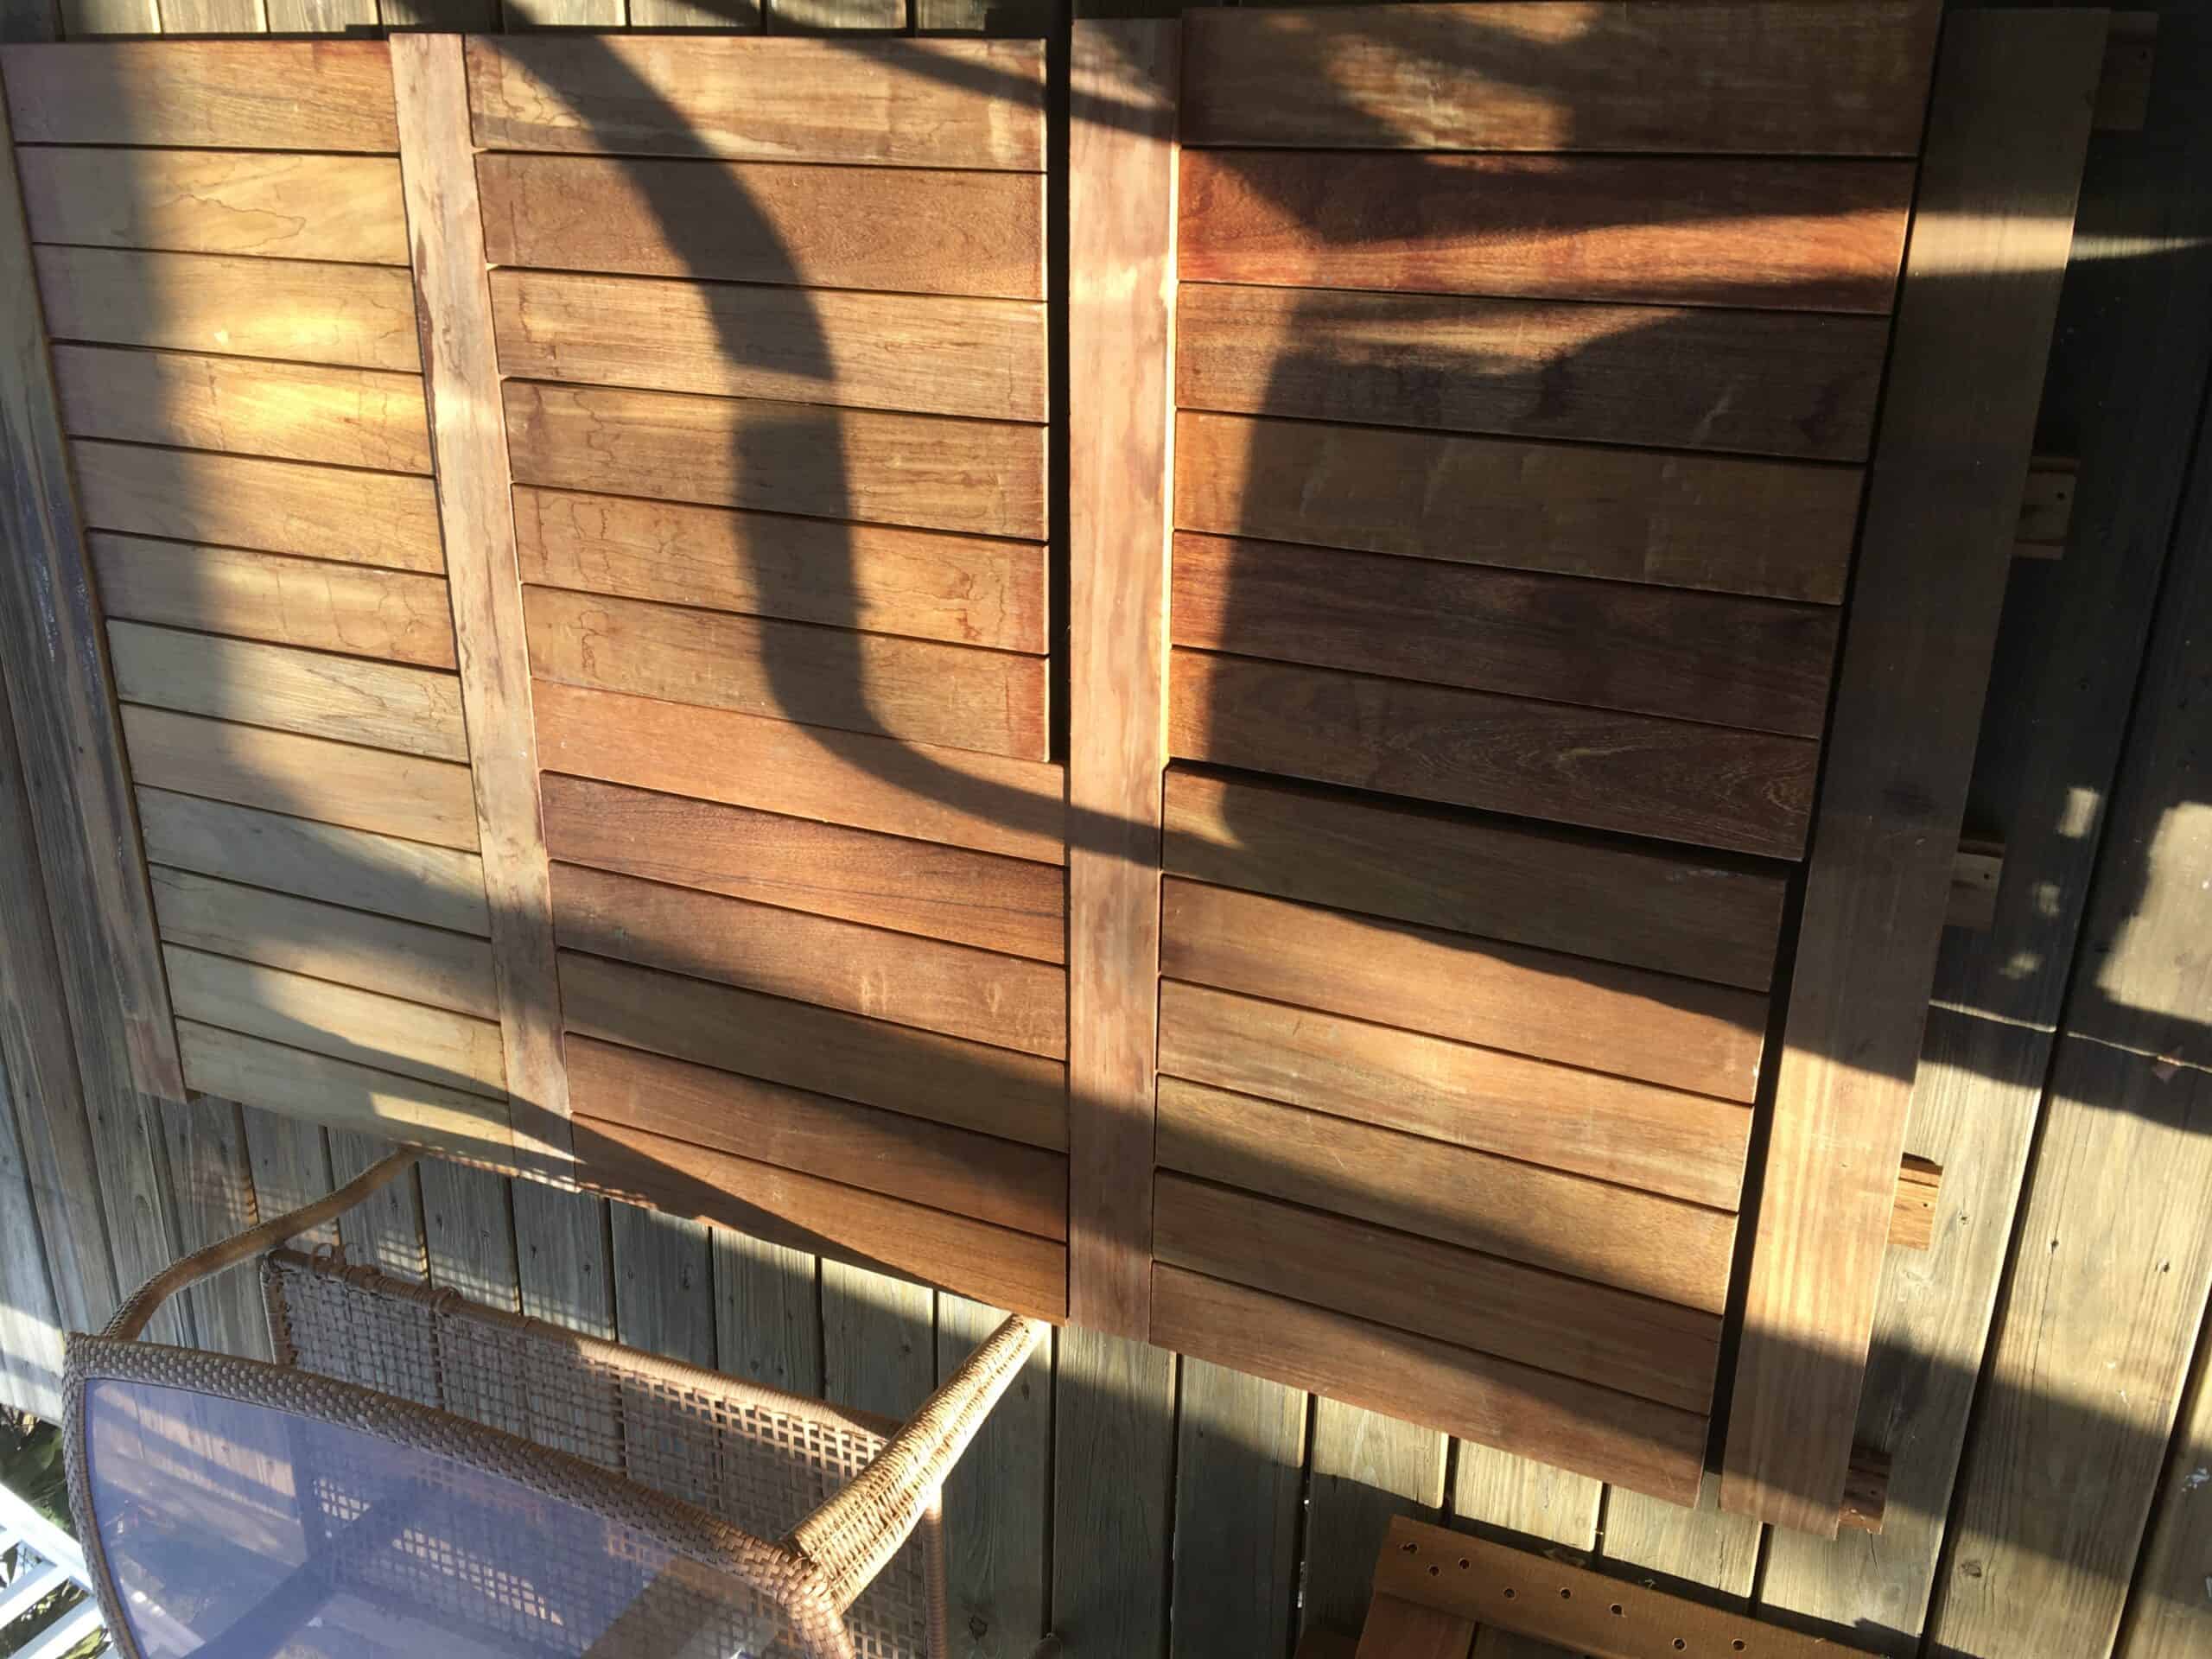
Great project… looking at building it this weekend. Any thoughts to notching the top 4×4 on the legs to allow the 2×4 runners to put weight on the leg rather than just using the pocket screws?
Yes, I think that would be a great addition. Plus you could extend those runners to help support the ends of the table top as well.
Might be a silly question… what does the 2 PL and 4 PL stand for? Currently in the process of building this table and don’t want to do something I shouldn’t. Thank you!
PL = places
Do you think it would be possible to put an umbrella in the table? How would the umbrella stand fit with the 4×4 going across the bottom?
I think that is a great idea. Just drill a hole in the lower 4×4 as well and anchor it in there as well. Maybe a hole just big enough that it needs to be forced in and will create a friction fit.
I like this, but how necessary is the HD pocket system? I have the regular, but I also don’t want to sacrifice strength as this will be outside in the elements. Thoughts?
Not completely necessary. You will sacrifice a little strength but I think it would be fine.
Sorry if this is remedial but how is the long notch made on the bottom on the legs to add the bottom feet? Is it running it back and forth on a table saw like a smaller notch, just with a bunch more passes?
Not remedial at all. That is what I did. I’m sure there is an quicker way though. Maybe using a band saw?
Instead of cutting the grooves, you could just nail in square pieces of 1×4.
If we were to build this table for outdoor use and stain and seal it would cedar still be the best/right wood to use? It looks like my local big box stores don’t carry cedar boards in the dimensions you used so I’d have to use normal framing materials, which I don’t think we could leave untreated. Any tips on staining outdoor furniture and the best wood for the job? What about pressure treated materials? I have not made any outdoor projects yet so I want to make sure it holds up. I live in California so it doesn’t get really cold, and rain is sparse. Plus the table will be completely covered by an awning. Thanks for your detailed plans! Your site is definitely my favorite DIY site!
Doesn’t get cold… Sparse rain.. I feel so bad for you. Haha jk. Honestly cedar is the best option because it won’t rot. You can stain it if you want to hold a color otherwise it will naturally gray. If you can’t get ahold of cedar then untreated wood with a stain and sealer will be fine. I use spar urethane for outdoor application. Or you could paint with and exterior paint. Another option is to us pressure treated wood but it has that green tint to it and will effect stain color if you choose to do so.
Well we spend most of the summer in the triple digits so… 🙂 I’ll probably have to try some local lumber stores to see if they have cedar. I definitely want the piece to hold up! Thanks for the feedback!
If you can’t find cedar go for redwood. It has very similar characteristics to cedar that make it ideal for outdoor use, and it is locally grown in CA. That’s why most CA fence and deck companies use redwood instead cedar. I’m a CA resident myself.https://www.timbertown.com/…P.S. All that being said, I prefer the look of cedar over redwood, so I am currently on the hunt for cedar somewhere in the bay area.
This is an old post – but if you haven’t built it yet… Home Depot now stocks treated lumber in “cedar tone”. I have used for a couple projects and it looks great! It is a good building material for outdoor projects.Good Luck!
I just completed the base!!!
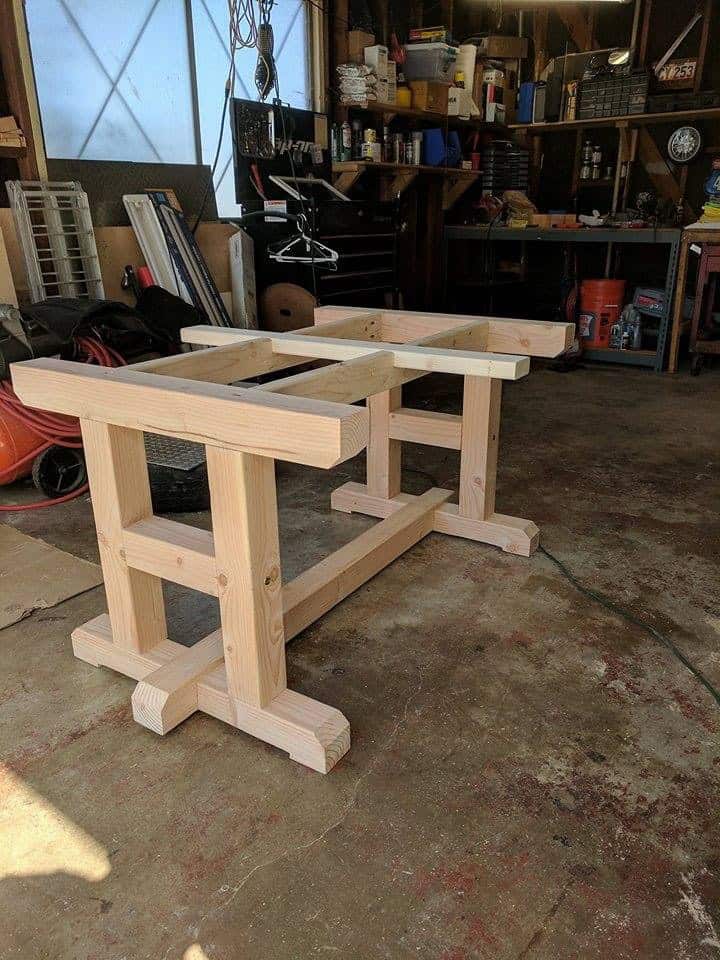
I shortened the specs by 41″ and ended up using Pine and Doug Fir for the base. I wanted to go with a Hardwood for the top but i am having trouble finding any of the local Hardwood Yards in San Diego that have Dimensionally cut pieces. any recommendations for a hardwood i could use for the top that would be budget friendly.
PS: this is going to be our kitchen table and we are planning on painting the base and staining/clearing the top.
Thanks for the plans!! I have posted the picture on FB and been referring your page to all that are interested.
Hi Nick,You have done a great job on your table base! Looking for hardwood in San Diego? Do a search for “San Diego Hardwood Lumber” and there are several choices. You can see what the cost in you local area is …. but generally for lower cost hardwood say like poplar or red or white oak. could work well for you…..even alder…Alder would be the softest of these. Then Poplar. The oaks would be less likely to dent ….they are harder and will be less splotchy when staining.
You are going to have the coolest table any where around. …. have fun.
Jamison,
Here is the finished product, Modified H-Leg Dining table, several modifications to a console table/entertainment stand. I appreciate your work and vision.
Thanks
Rich
Thanks for a great design on a table! I made it as a gift for my wife’s birthday. Do you have any plans or ideas for a matching bench?
Thanks!
John
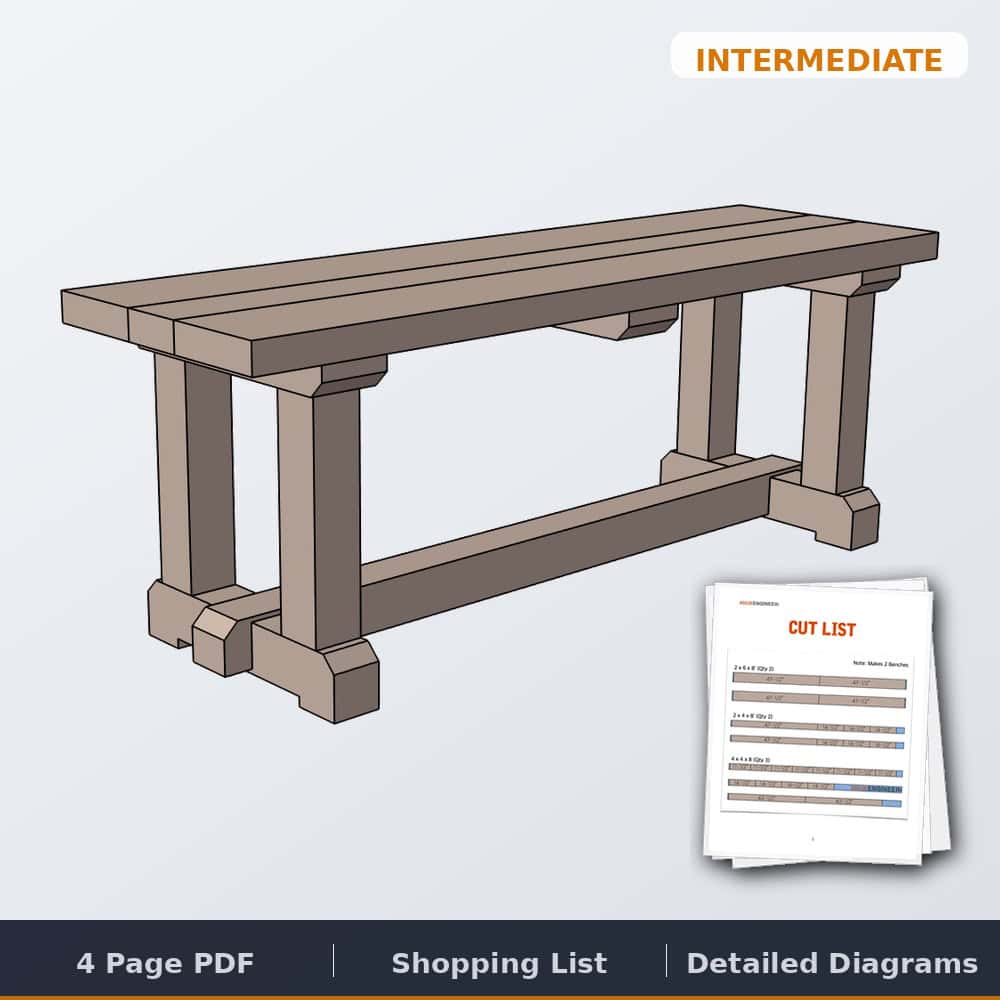
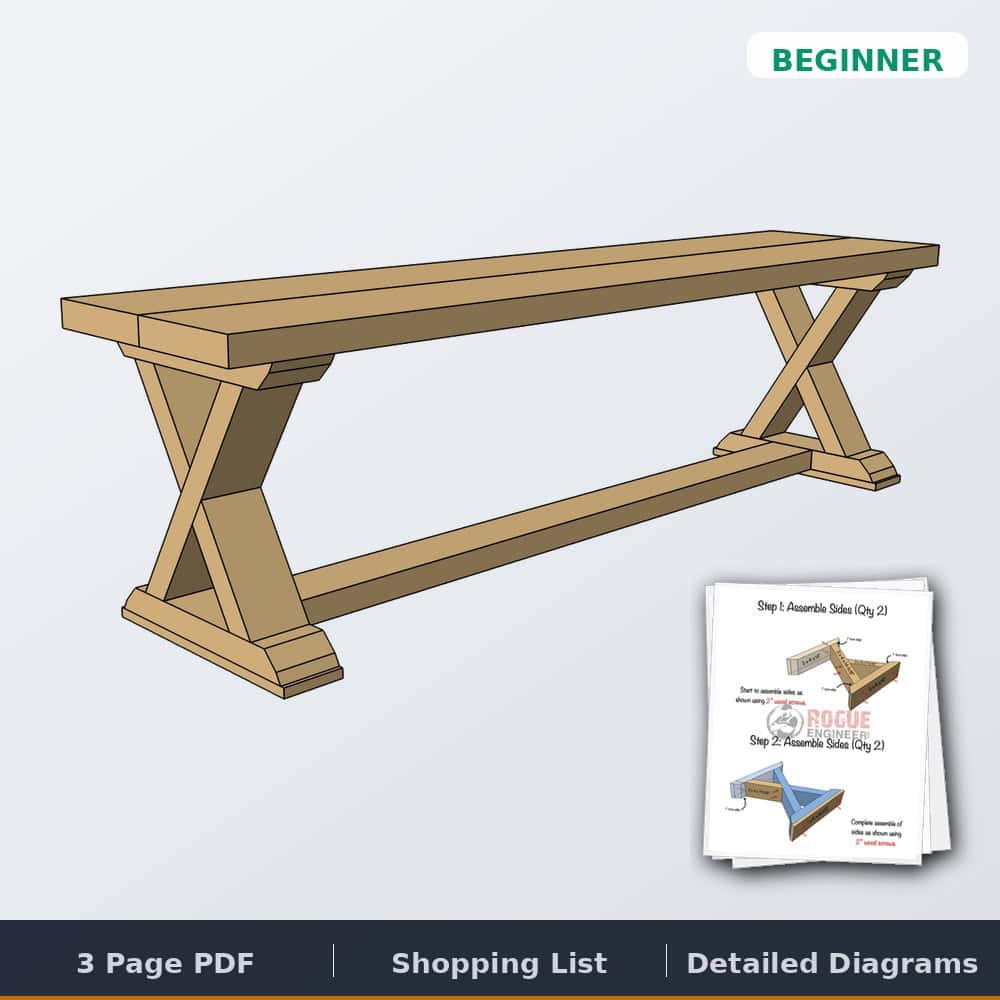
Plans for benches are in the works as we speak! Stay tuned!
Any issues with the wood movement of the top messing up the end boards?
Not at all
Any special wood I should use? I’m worried about the movement and have seen horror stories from other table plans. Anyways, great plans and nice build.
Here is mine. It’s 102″ x 43″ (big family). As it is outside, I used almost full width mortise and tenons for the breadboards, glued and doweled in the middle with elongated tenon holes on the ends to allow for movement. Hope I described that correctly, I’m new to this.
Thank you so much.
I was wondering if the table base would hold up a 120″x40″x1 1/12″ slab of concrete as the table top or would i have to add another H leg?
Ive tried to get the downloadable plans multiple times but I haven’t ever received an email. Am I doing something wrong??
Sometimes they end up in the junk mail and sometimes they get lost all together. Email me at @Jamison Rantz.com">jamison@Jamison Rantz.com and I will send them to you directly.
Really appreciate you taking the time to design and share this. Needed a 12’ outdoor table for our lake house and they were looking pretty damn expensive. I added a third h-leg in the middle, narrowed the table a bit, and ran notched top stringers the same length as the bottom stringer, but mostly the same. My wife loves it! https://uploads.disquscdn.c… https://uploads.disquscdn.c… https://uploads.disquscdn.c…
Thank so much for the idea and the p https://uploads.disquscdn.c… lans! This was my first wood project and it turned out great!! Couldn’t have done it without this fantastic site!
If you were going to use this table as in inside dining room table, what would you use instead of cedar? Pine?
jUST Sharing the past few days all I have been doing is cutting the boards in preparation for building and I am noting this because on all of the notches you use the dimension of 3.5 which is wrong at least where I live ? The store bought 2*4’s are 3 5/8 inch and I always use rough cut which is actually 2*4 inches.I hope this helps someone and thank you.
Great table. Iam looking to use some composite wood decking boards (trex) for the table top. Would you recommend this or have any suggestion??
Here is mine. Cedar top and pine pressure treated base https://uploads.disquscdn.c…
was the top rough cut and you planed it down?
Kind of late to the party but I have a question. I assume the cedar used in this table was rough cut cedar that was planed. Is that correct?
Hi, What is the secret to make the top flat? the legs were really easy to do but the top is not flat and I do not know how to fix it. Please advise, thank you
I am from Chile, southamerica. I made your table and benches with some dfferences l glued and tenons the deck and put a breadboards.
Thank you
Hi, Jameson. I don’t understand the statement above regarding modification to make this table for indoor use; “This plan could easily be modified for an indoor table by using the top design seen on the J-pedestal table of just adding a 2×6 to the top and not gapping the boards.” Are you saying one can use the current H-leg dining table plans, not gap the boards, AND add another 2″ x 6″ board? Wouldn’t this make the needed lengths for the breadboards longer, because adding another 6″ board is not going to equal six closed quarter-inch gaps.
Jamison, thanks for the great design. I’m just now putting the last coats of varnish on the top surface so I can get some summer use out of this table.One comment to the design (maybe a little late in the game!) is that my long top supports that run between the legs fall directly under two of the gaps in the top boards. Unfortunately I glued them into place before seeing this and I’m concerned that the drainage of water and things that fall from my tree will be hampered. Might be a very minor mod that could make a big difference. Probably nobody will ever know the change was made except the person cleaning the table when it sits outside!Here’s an in process photo: https://uploads.disquscdn.c…
I’m building this table but adding approximately three feet in length and 6″ in width. I’ve adjusted the wood for the length and assuming the H-legs are 18″ in from the edge, will the base support the table top or would I need an additional H-leg in the middle?
Just finished the benches yesterday. My wife wanted a few changes. I’m really proud of it!! Thanks for plans!! https://uploads.disquscdn.c… https://uploads.disquscdn.c… https://uploads.disquscdn.c…
Jamison, FINALLY getting to this project. The table top is 42″ wide but if my cedar 2×6’s are 5.5″ wide x 7 that’s 38.5″. Add in the 1.5″ (.25 x 6 for spacers) you come to 40″ wide. Is my math wrong or where do the other 2″ come from?
Can you help me create this table but with a 45” half hexagon top? I do not know how to plan the build.